


Oh, yeahhhhh.
I'm getting crafty with mustaches, AGAIN.
This blog is starting to get a bit redundant, isn't it. I'll work on that.
However, Klout told me that I'm a specialist, which means I'm focused and consistent. In this way, we could look at the redundant quality as a positive: According the the kouts, I'm an expert in my field! The field of mustaches and glitter, that is. Go me!
However, Klout told me that I'm a specialist, which means I'm focused and consistent. In this way, we could look at the redundant quality as a positive: According the the kouts, I'm an expert in my field! The field of mustaches and glitter, that is. Go me!
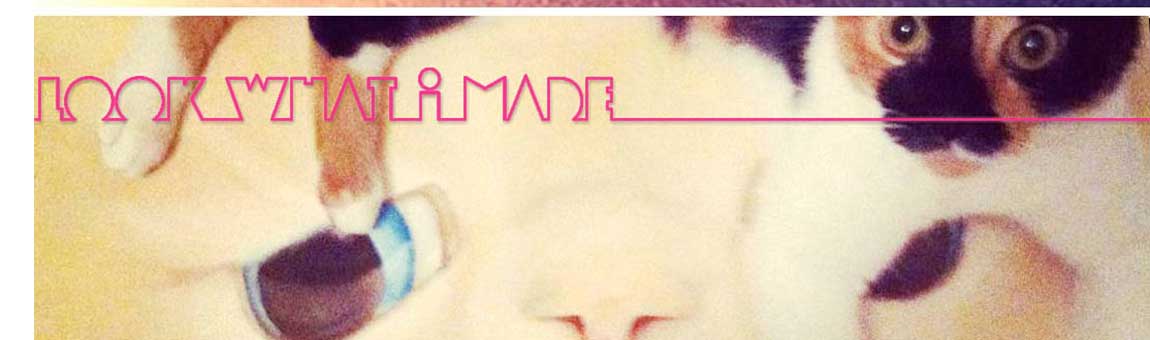
Today, le moostache is rockin' as a finger party.

Eh? EH?!
Finger mustache: another excellent social lubricator. Also, super awesome for those who get really awkward and uncomfortable infront of cameras (me).
.JPG) The finger mustache creates an allusion of coolness for the camera shy. A hipper solution than the duck-lipped kissy face.
The finger mustache creates an allusion of coolness for the camera shy. A hipper solution than the duck-lipped kissy face.
.JPG)
You know what is gonna be super cool? When I wear my mustache necklace and my mustache ring this weekend. Also, my phone will be wearing it's mustache case. (Should I name my phone? Is it male or female? These are important questions.)
Point of the story: coordinating accessories is sonot cool.
Point of the story: coordinating accessories is so
I might have bad taste.
Supplies:

1. Pasta machine from Michael's.
2. Modpodge from Michael's.
3. An X-Acto knife from a local hardware store.
4. Black paint from Blick.
5. Ring post from Toho Shoji.
6. Fimo from Michael's.
7. Martha Stewart glitter from Michael's.
8. E6000 glue from M&J.
9. Paint brush from Michael's.
10. *NOT PICTURED* Oven or toaster oven.
Step 1:

Pull the fimo through the pasta machine at the thickest setting.
Step 2:

Use the X-Acto knife to cut out a mustache shape. I freehanded it. If you are less confident with your hand, print out a mustache from the internets and use as a guide. Click this.
Step 3:

Bake the mustache for 5ish minutes at 275ish degrees.
Step 4:

Paint the baked fimo black. You can skip this step if you were smart and bought black fimo. Or maybe you want a yellow mustache. Who knows. Go where your crafty heart leads you.
Step 5:

Paint modpodge on the top side of the mustache.
Step 6:

Sprinkle on the glitters.
Step 7:

Seal in the glitters with another layer of modpodge. Let dry.
Step 8:

Use the E6000 glue to stick the ring post to the bottom side of the mustache.


This weekend is going to be a riot.
Show me your mustache! Love me! Buy things from me!
5 comments:
COOL
This is ridiculously awesome, I want to make one like... now! If I ever get to sleep tonight, I might wake up tomorrow with enough time to run to Michaels... I'll definitely e-mail you if I do it, thanks for the great tutorial!
Being a chilly Saturday evening, I have nothing better to do but drink a box of wine and read random ass blogs (I know, I'm classy.) I spent about an hour reading through most of these posts, (I've seen you before on craftgawker) and bitch, you crazy! But... I like it. :) Not too into the mustaches, but everything else is really craft-tastic and great. I'd be your friend if I wasn't a hermit.
I love mustache!Your ring look amazing!Please visit my new blog I hope you'll like I'll be very grateful if you leave and comment http://look-i-made-it-alone.blogspot.com/
What a cute project! I love it so much that I decided to feature it in our roundup of mustache crafts! Check it out here: http://www.favecraftsblog.com/link-love-mustache-crafts/
Have a great day!
Post a Comment